Sunday, July 20, 2014

#131 Happy Camper

Hello there!  Today I am sharing my layout for CSI's latest case file, Case File #131.  We have an awesome sketch from Em Stafrace of PageDrafts too!  CLICK HERE for all the details and to see the rest of the design team's inspiration.

Here is my layout featuring my little camper.


And here is the awesome case file and sketch:


For my evidence, I used the following:  wet medium (seafoam Heidi Swapp color shine spray), woodgrain (a Mod Podge stencil with modeling paste, covered with Tattered Angel mist), and the wooden "Explore" arrow, string (on the banner), and animal accents (the little snail at the bottom).


Then for my evidence, I used the "outdoor" inspiration word, which was perfect for the photos because the Little Lady is going to summer nature camp at a local nature preserve.  She is most comfortable and at home when she's out exploring, so it has really been the absolute best summer camp experience for her!


So there you have it.  I hope you will come play along with us at CSI.  Have a great day!

xoxo,


Shawna

Tuesday, July 15, 2014

Sketchabilities #119 - The Bridge

I'm hitting these vacation photos hard and loving how well they're working with the July challenges!  The latest sketch at Sketchabilities is no exception.  We've got a fabulous sketch for you with an awesome sponsor for both challenges this month - Flying Unicorn!   CLICK HERE to check out their amazing kits, one of a kind paper crafting embellishments, and more. 

Here is my layout and the sketch.  Apologies for the uneven edges here - the watercolor warped the paper a bit and made it impossible to get a good square shot.  C'est la vie.  CLICK HERE to see the rest of the design team's amazing reveal.


And some close-ups.  I started out with a watercolor like background made from 4 shades of blue gelato.  I used a piece of scrap mixed media paper to mix my watercolors before brushing them on, so then I stamped this fun anchor onto the scrap paper I had used to mix my colors, and fussy cut it out.


Lots of layers here - mostly papers from Basic Grey's Capture line, although the red and white chipboard is a frame from Recollections that I cut up and used pieces of.


I pulled in some Creative Embellishment chipboard circles, but left them unaltered because I thought the natural colors complimented the color scheme of the layout.  More layers and a Basic Grey chipboard frame as well.  The little nautical string of circles is Studio Calico - Boardwalk line maybe?  It is leftover from a summer 2013 Citrus Twist Kit.


Loving these kraft colored Thickers from my June Citrus Twist Kit.


Another bit of vellum ephemera from Studio Calico, secured with a straight pin.  The "Next Adventure" chipboard sticker is Heidi Swapp.  My journaling, that talks about the bridge to Cape Cod, our favorite summer vacation spot.


I hope you are inspired to play along with us at Sketchabilities.  Remember, you have 2 weeks to link up your creation.  Happy scrapping!

xoxo,


Shawna

Monday, July 7, 2014

Challenge YOUrself #8 - a color challenge!

I'm back to share my layout for July's color challenge over at Challenge YOUrself!  It's a gorgeous hazy summer color scheme that can be used so many different ways!  I was inspired by the colors and the circles to create this watercolor layout.


Here's the color challenge!


My title was handwritten on white cardstock with Liquid Pearls and then cut and adhered.  Picture Perfect is from a Basic Grey ephemera pack, and the buttons are Heidi Swapp. I love how they sparkle!


I gave the photo an ombre tint treatment to match the color scheme and added in some fun Maggie Holmes ephemera circles here and there.


Another closeup of the circles. I started with a base of watercolor circles, and outlined some with black watercolor, and a few others with a black pen to pop them out a bit.  Added some velum circles to play off the hazy effect of the color palette.


And that's all she wrote!  Remember, you have all month to get your layout linked up over at Challenge YOUrself.  Hope you can play along!

xoxo,


Shawna

LPS July Sketch Challenge is Live!

Hi there!  Back from vacation and back to work today.  That part is not so fun, but it's also time for my first layout reveal as a new design team member over at Life.Paper.Scrapbook!  CLICK HERE to see the rest of the awesome reveal.

The July sketch was the perfect chance for me to start scrapping our vacation photos and I couldn't wait to dig in.


And here's the sketch:


I started out with a watercolor background with some neutrals for the "sandy" area, and a mixture of blues double as sky and water.  Then I added some modeling paste for a wave/cloud effect and added some Tim Holtz stamped birds.  I also went over the sandy area with some Tattered Angels mist to give it a little sandy sparkle.


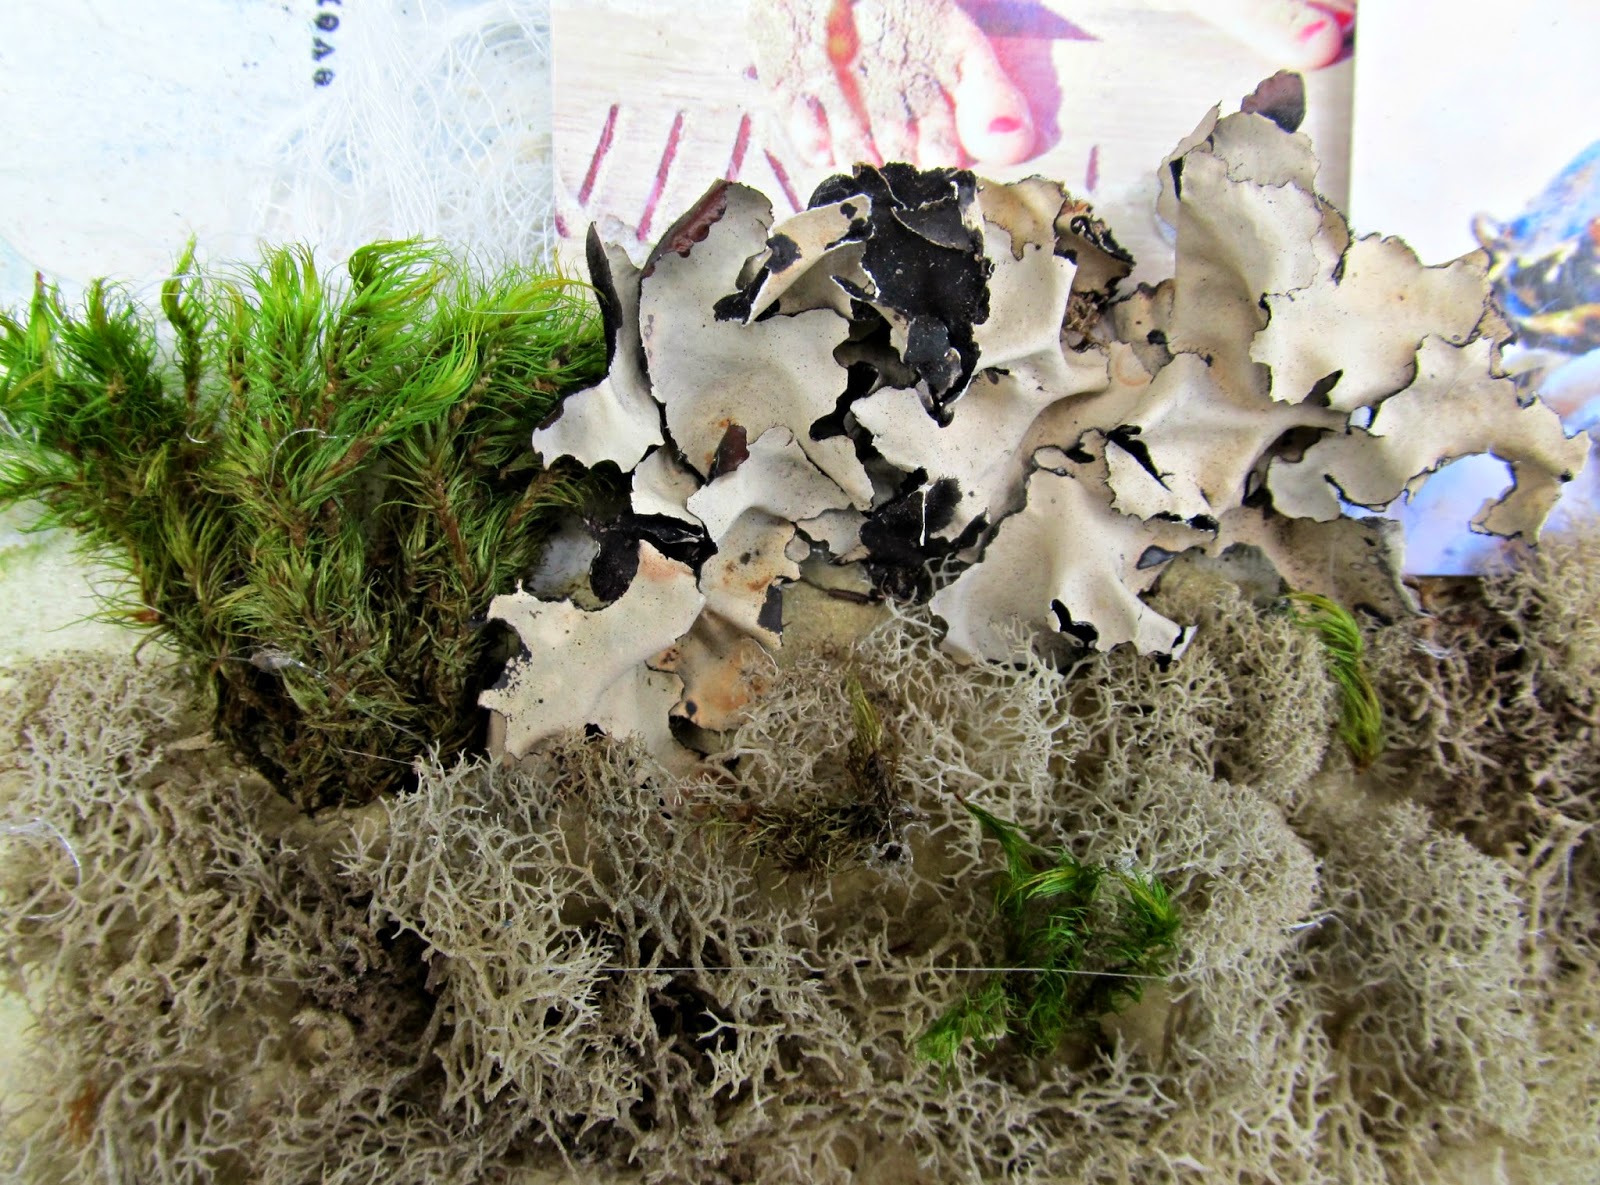
When I was working on the gala signs for the Little Lady's school fundraiser, I came across this awesome package of moss at Michael's.  Even though it is actually just moss and dried mushroom type stuff, I think it feels beachy and I grabbed it hoping to use it for just this purpose some day.  I attached it all to the sand with a glue gun...and may have burned my fingerprint off in the process. ;-)


I love this Citrus Twist Kits stamp to the left of my journaling.  So true...and so far this summer is shaping up to have LOTS of stories!


Closeup of my photo arrangement.  At first, it may seem like this layout is nothing like the sketch, but the photo placement, the journaling and title placement are right where they should be in the sketch.  I just went a little crazy with the moss which makes the sketch a bit tricky to see.  Hehe.


Aaaaand the canvas thickers show up again!  Shocking, right?


So there you have it!  You have until July 28th to link up your take on the sketch.  See you in the gallery!

PS.  Come back and visit me this evening...I'll have another post revealing the July color sketch over at Challenge YOUrself.  If you can't wait to see what this month's challenge entails, CLICK HERE now to check it out!  Have a great day!!

xoxo,


Shawna

Thursday, July 3, 2014

Baltimore

We are teaming up with Artastic for a great collaborative case file over at CSI and I had so much fun creating this layout for the collaboration!  I have been wanting to try photo transferring to paper for quite awhile and when I found this photo of the skyline of Baltimore, Maryland, I knew it was the perfect chance to try it out.  You can see full details on the case file by CLICKING HERE.


Here is the case file:


Since the photo shows my daughter looking up (in total awe) at the tall buildings in Baltimore, I wanted to find a photo that showed the skyline of Baltimore, and the waterfront as well.  I searched some google images and once I found a photo I liked, I printed it in panoramic mode onto plain 8x11 printer paper and got to work on transferring it.  I looked through Pinterest and a bunch of different blogs for guidance on how to attack this transfer, and found tons of helpful "how-to" tutorials out there.  THIS ONE from Mixed Media Artist looked the easiest so that's the one I went with.  Here's a quick step by step.  I will try to do a video tutorial now that I have the hang of it, but I didn't think to do progression photos since I was just figuring the technique out myself.

1.  Before printing your photo, be sure to reverse the image so that when it is laid down and transferred onto your paper, it doesn't come out backwards.

2.  Print the photo on plain copy paper.  I used 8x11 printer paper.

3.  Prepare the paper you are transferring onto with a layer of Mod Podge or gel medium.  I used a matte gel medium so that it wouldn't be glossy.

4.  As soon as you lay the medium down, immediately place your image onto the paper and smooth it out well using a brayer or even a credit card or something if you don't have a brayer available.

5.  Lift/peel up the paper.  QUICKLY.  It took me quite a few tries to get this part right and to manage to get my image onto the paper without pulling up the cardstock I was trying to transfer the image onto.  It still peeled in a few spots, but nothing that I couldn't deal with.  All in all, you really only want to use the brayer for about 10 seconds, and as soon as you feel that it is flattened out well, start peeling.

6.  If there is any remnants left of the transfer paper, you can gently rub them away.  Once complete, you should be left with a nice transfer image to work with.  Here is mine.


**I tried it with photo paper and did not get a good transfer. I found that the ink from the printer transferred most easily with plain old copy paper.  I would love to hear from anyone who has good luck with the photo paper technique!**

And that's it!  It really does take a little practice but what a fun technique to add to your paper crafting arsenal.  If you try it, I'd love to see what you create and hear how it goes.  Here are a few closeups.  Happy transferring!

Aside from printing on the background cardstock, I also did a transfer of the same image on a stronger mixed media paper.  Then I cut it out and popped it out to give the illusion of layers and rows of buildings in a city.
There are those great canvas Thickers again!  A good old stick pin worked out nicely to pull the red in from the case file.
I found these little metal bicycles in the bargain bins at Michael's.  $3 for 3 bronze, and 3 silver.  Good deal!
 Thanks for stopping by.  I hope you will play along with this great case file.  Be sure to upload to the galleries over at Artastic as well as CSI if you do!  Happy Scrapping!

xoxo,


Shawna