Showing posts with label tutorial. Show all posts

Friday, April 4, 2014

Butterfly Kisses...

As promised, it's time for another fabulous case file reveal over at CSI!  The colors were a bit of a challenge for me, but I ultimately ended up with one of my favorite layouts ever!  CLICK HERE to see the rest of the design team's awesome creations and to play along with us!


Here is my layout.  For evidence, I chose circles, metal, ransom style lettering, flowers and butterflies.  Lots and lots of butterflies. :)


I'm still learning about mixed media and it's still blowing my mind.  The imprecise nature of it is so freeing.  While scouring Pinterest for inspiration I came across this tutorial by Ayeeda over at Zeuss and Zoe.  It never ceases to amaze me the way the artists who post these tutorials make everything looks so effortless.  Here's the  video if you are interested in watching!


I thought the use of the tissue weight kraft paper was genius, and I recreated it using a leftover paper bag which I crumpled up and layered with mists and glass bead gel under the photo. For my metal, I took two little plaque like metal embellishments and tucked them under the photo so only the ornate edge detail was exposed.


For my journaling, which I added digitally, I chose a poem I found online (author unknown).

Flutter by,
Butterfly, 
Floating flower
in the sky.
Kiss me with your
Petal wings - 
Whisper secrets,
Tell of Spring.

Then on the back of the layout I told the story of this photo, as follows:

I love that Heather captured this moment between you two girls.  Sitting on the trampoline, in your dress up clothes and with crazy static hair, you decided to show Addison what a butterfly kiss is...such a sweet tender moment captured...but a little bit of humor too, as your conversation went like this:

Ireland: "This is a butterfly kiss, Addi!"
Addison: "That's not a butterfly kiss, that's a kiss from China!"

You girls crack me up.  Leave it to the both of you to turn a sweet tender moment into one of giggles.  - Summer 2013


The blue butterfly was fussy cut from some Heidi Swapp paper and covered with antique tinted All Night Media liquid embossing medium.  I stamped a butterfly off center underneath the blue one, and popped the blue embossed butterfly on top of it.


Lots of fabric trim on here, with ribbon and some doily scraps I had laying around.  For the clock, I fussy cut some more elements from Heidi Swapp paper and repeated what I did with the butterfly using the All Night Media liquid embossing medium.  The swabs of white are modeling paste, misted with Heidi Swapp Color Shine in teal, and then layered with glass bead gel.


Thanks for stopping by and visiting me!  I hope you have found some inspiration and that I will see your layouts in the CSI gallery this week.  In the meantime, enjoy the weekend!

xoxo,


Shawna

Saturday, January 25, 2014

Sketchy Solutions...

So I recently discovered a great challenge blog and online scrapbook supply store called  The Memory Nest and I decided to play along with their January sketch challenge.

+


Looks pretty easy right? Nope.  Not for this girl.  It's these simple sketches that stump me. Especially with a vertical 4x6 photo.  I've grown quite used to scrapping smaller, usually square photos, so to scrap a larger photo was more of a challenge than I expected (and I still had to skinny it up so it's more like a 3x6).

I started a layout with the larger squares of paper layered behind my photo.  Agonized over it for a couple of hours, then tossed it and pulled out a light grid covered cardstock and my good old Faber Castell gelatos.(shocker, right?) ;-)  Every time I have struggled with a layout I have ended up coming back to the gelatos and I always feel happy with the outcome.  So here's a bit on my process of putting together a layout using mediums as substitutes for paper elements on a page.  Give it a try!

For this layout, I used the gelatos as a stand-in for the lighter gray paper layer shown in the sketch.

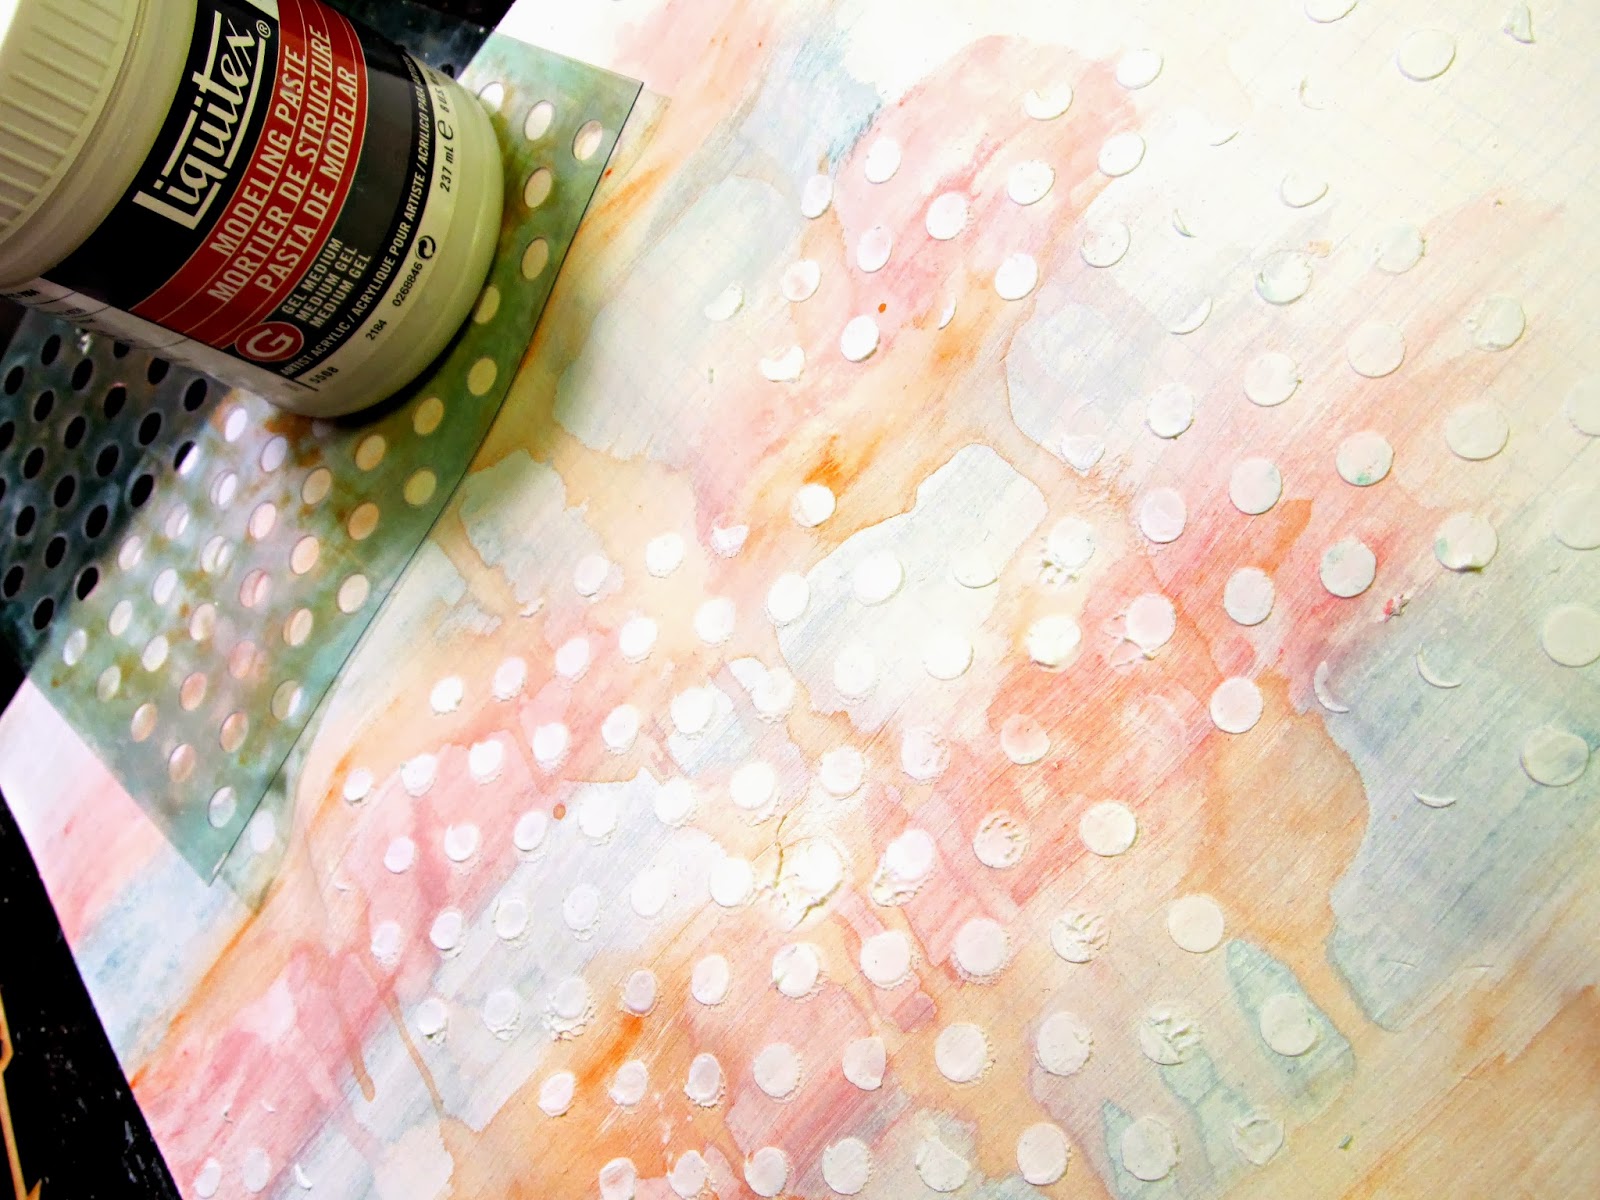
First I put a decent layer of gesso over the background paper.  Once that dried, I scribbled big lines of color with the gelatos, finger blended them, then went over them with water and a watercolor brush.  If you want your gelatos to blend well without hard lines, apply them softly to the paper - you don't have to press down hard at all.  Then wet a watercolor brush and apply a generous amount of water on the lines that separate your rows of color.  Blend the colors out until they look the way you want them.  I stood my paper up and tapped it on my desk to get the colors to run into each other and make some dripping and pooling.


I used a stencil and added some circles with modeling paste over the gelatos, then layered strips of vellum to stand in for the darker gray paper in the sketch.


 A few hearts, a button flair, and a little bit of doodling.  Viola.  A super cute pastel page of the kiddo. :)  I switched the elements but stayed pretty close to the sketch shape.


I hope enjoyed this little how-to...and link me to your layout if you give this technique a try! :)

Have a fabulous weekend!

xoxo,


Shawna


Tuesday, October 22, 2013

Technique Tuesday - Masks and Distress Stains

It's Tuesday and that means it's technique tutorial day over on the Birds of a Feather Kit Co. blog!  This week I did a tutorial on misting with masks, and using distress stains for this autumn card.  You can register to follow the blog and see the tutorial here.


Enjoy the day, lovelies!

Tuesday, September 3, 2013

Technique Tuesday at Birds of a Feather!

Happy Tuesday!  I hope everyone had a fabulous long Labor Day weekend!  Today is my first tutorial as a design team member for the Birds of a Feather kit club! Since my current obsession is gelatos, I thought I'd share a little bit of technique on how to use them to create custom cardstock and backgrounds.  Click here to read more!


Stop over and check it out and while you are there, take a look at the awesome kits BOAF offers - they're perfect for the scrapbooker that doesn't have hours to spend shopping and coordinating product!

Thanks for stopping by! :)