Showing posts with label The Memory Nest. Show all posts

Tuesday, June 17, 2014

TMN Chairs Kit

Happy Tuesday!  I'm back today sharing another layout created with the Chairs color kit from The Memory Nest.  The flip side of the papers are softer, and in contrast to the 2 page carnival layout I did earlier this month, here is a softer page of the Little Lady when she was just a itty bitty.  This is my last layout as a design team member for The Memory Nest and I want to give a shout out to Leslie for giving me the opportunity...was a wonderful team to work for!


Here's the kit.

A little mist on the background, with stenciled modeling paste hearts, and some hole punched hearts as well.


This flower came from my stash - it was on a clothespin, which I removed.  Another Michael's bargain buy. :)


And a closeup of our pretty Little Lady, just because she's so cute.


Here's a photo of my prior layout using this kit.  Super versatile papers!


Stop by the store by CLICKING HERE and take advantage of 10% off, plus discounted shipping using the codes below.


xoxo,


Shawna

Tuesday, June 3, 2014

Color Kit reveal at the Memory Nest!

The Memory Nest has revealed its June Color Kit - Chairs!  CLICK HERE to check out the post and, if you order this kit or any other product in the store, be sure to scroll to the bottom of this post to grab the coupons for a great discount on your purchase and on shipping!

This kit inspired me to do something I haven't done in quite awhile...a 2 page layout!  I had so many great pictures from the Little Lady's birthday party last year and I was so happy to see how well the photos meshed with this month's color kit.  Here's my layout:


And here's the awesome kit.


Lots of fun papers in there!  For this layout I used the following:

Echo Park Summer Bliss - Summer Circles
Heidi Swapp Dreamy - Ticket to Ride
Fancy Pants The Good Life - Live
Fancy Pants The Good Life - That Way
Lily Bee Design - Head Over Heels Dreamy

Here are a couple of closeups of the left and ride side.


In addition to the color kit papers, I used some fab birthday embellies from Recollections, as well as some Heidi Swapp embellies and banners.


I cut a little slit in the photo so I could wave the balloon strings in there.  When I showed my daughter, and asked her if it looked like she was really holding the balloons she said "What do you mean? I AM really holding the balloons!"  Haha.  Well, I fooled the almost-5 year old at least!


Here are some more closeups.  This party was truly one for the book...I blame Pinterest for the fact that I went way overboard with the carnival theme.  How could I not?  So many cute ideas!  We had carnival games, a trampoline, face painting, popcorn and cotton candy, a photo booth station, and lots and lots of laughs.  Such a wonderful and memorable day!


Can you seriously stand the awesomeness of the invites?  Courtesy of 2 Birds Studios on Etsy!  CLICK HERE to visit their shop.  There was also a cute end piece of the ticket that gave the time, location and details of the party.


So there it is!  Be sure to keep an eye on my posts this month, as I will have more from this kit later in the month.  Enjoy the evening!

xoxo,


Shawna


Tuesday, May 13, 2014

Great deal on past collections at The Memory Nest!

Leslie is running some great specials over at The Memory Nest this month!  She's offering 30% off all past collections, and, if you use my code below, you can get an extra 10% off!  I worked with the Collecting Moments kit from Fancy Pants and was super impressed with how versatile the collection was.  And, it was definitely new to me...I had never used any of the papers or embellies from this collection and had a blast putting together my layouts.  Here are the layouts I came up with.

I added a few odds and ends from my stash, namely the flowers, banner and butterflies.  The paper, the little word stickers, the small letters used and the "time" themed embellies are all Collecting Moments.

Again, all of the papers are from Collecting Moments, and I added in a few little flowers, a couple of flair buttons, and a vellum pocket that I filled with sequins from my stash.

With the exception of the "hi" button and the two frames, all of the elements of this page are Collecting Moments.
Come visit The Memory Nest Shop and score some deep discounts on all products!  Make sure to use my code below to get an extra 10% off already discounted supplies!


See you soon!

xoxo,


Shawna

Wednesday, April 30, 2014

Love and be Loved!

It's linkup time over at The Memory Nest!  CLICK HERE to share some love!  Stop by and link up some of your paper crafting projects and feel the love from all of the admirers that stop by your blog. ;-)  Everyone loves feedback, especially complimentary feedback, so don't be shy!  Link up and get in on some lovin'!


And while you're at it...pay it forward, leave some love on the links, and have a great day!


xoxo,


Shawna

Thursday, April 24, 2014

New sketch at The Memory Nest!

Happy Thursday!  There's a great (and challenging!) new sketch up over on The Memory Nest blog and I thought I'd give it a go.  There's a twist on this one too; to use one of the phrases on the right as your title or journaling.

Here's the sketch:


And here's my take on it:


I used lots of Maggie Holmes for Crate Paper papers again for this one (actually, all of the paper is MH!), and some fun little embellies and a couple of stamps (Citrus Twist Kits stamp and Tim Holtz stamp, which I cut up so that I could make the phrase fit in the little frame.)  The frames are actually wood which I painted with white acrylic paint, and the letters are Thickers and American Craft.


CLICK HERE to link up your creations using the sketch!  ALSO, The Memory Nest has some great deals for the month of April that you can still take advantage of.  CLICK HERE to see all of the April specials and savings!

Have a great day!!

xoxo,


Shawna

Friday, April 18, 2014

CSI #119 - Explore...

No mixed media for me this week!  The "feel" of this case file felt more vintage-y to me. :)  I loved this case file because it gave me a chance to use many of the older papers that have been sitting in my stash for quite some time.  Plus I had so many fun travel elements that had previously gone unused because, well, we don't really go anywhere!  LOL  

Here's the case file:


CLICK HERE to see what the rest of the design team has come up with!

And here's my take on it.


For evidence, I chose wood, globe/earth, and a tag.  Then I chose to journal on a tag and tucked it behind the photos.  It says:  "You are fascinated by all of the places in the world that we have never been, and each time you learn about a new country, you ask me if we can go there.  One of my wishes for you is that you have the opportunity someday and travel the world and see how much there is "out there" besides our tiny little slice of the earth."

Here are a couple of closeups:


This was the perfect time to use my map letter Thickers and I love the banner stickers that have the airline schedules on them!


Studio Calico wooden veneer sayings always come in handy, as does that 7 Gypsies hot air balloon stamp.  I've gotten soooo much use out of it.  The globe sticker is Heidi Swapp and the kraaft and chalkboard circle behind it is (I think?) The Paper Company.


The stamps you see are from Citrus Twist Kits, and the great scrabble letter stickers are from last month's kit from The Memory Nest.

Thanks for stopping by!  Can't wait to see what you create!

xoxo,


Shawna

Thursday, March 13, 2014

Remember...

Hey all, hope you are all enjoying the homestretch to Friday!  We are digging out of some serious snow here in NY...we got walloped with almost 2 feet yesterday! That alone is enough to justify the sharing of this sweet summer layout of the hubs and our little lady, but I also want to share because this is the 2nd layout for my reveal over at The Memory Nest.  All of the papers used are all from this month's Feathers Color Kit. CLICK HERE to stop by and check it out!  Even better, if you decide to purchase, I have a special code for you to save 17% off any purchase of $17 or more.  Just put in code "Shawna17" at checkout!


So here is my layout:


The frames are made with modeling paste, which I love to use on beach/summer layouts because it reminds me of the foamy waves of the ocean.  I just took some standard frames and covered them with modeling paste using a small spreading spatula, which I kind of spread around to make some peaks and valleys.  Feels wave-like to me. ;-)  The "Remember" script is actually silver Heidi Swapp lettering, which I covered with navy ink, and the tag and the "captured" button are just randoms from my stash.

Anyway, hope you enjoy and that you will stop by the Memory Nest and check out the kits!  Don't forget to take advantage of the extra 17% off by using my code! :)


xoxo,


Shawna

Thursday, March 6, 2014

Debut Layout for The Memory Nest Design Team!

Hello there!  I have some exciting news to share...I've landed on another design team!  Effective this month, I have the pleasure of working with some very talented ladies and designing with all of the goodies available over at The Memory Nest's online store.  CLICK HERE to check out the blog and link on over to the store to see the current fabulous deals and specials running on scrappy supplies!  Even better, The Memory Nest is putting together color kits to take some of the guesswork out of putting together your layout elements.  For this layout, I am working with the Feathers Color Kit.  Here's a photo of the inspiration for the kit.


Hope you enjoy and that you will stop by the "Nest" to check things out!  There are some great challenges each month on the blog as well!

Enjoy your Thursday!

xoxo,

Shawna


Monday, January 27, 2014

Another color challenge!

Hey all! I'm back with another layout created for a challenge over at the Memory Nest...this one is for their color challenge.  CLICK HERE to play along.  You still have 4 days.  Here are the challenge colors.  This challenge also came with a twist to include either a sunburst or chevron on your layout.


And here's my page.  I really enjoyed putting this layout together.  I used a 4x4 photo of this fabulous coffee mug I got for my birthday (thanks Wendy and Julie!) that has my nickname on it.  Ever since I took my husband's name (Saucier) 10 years ago, I've been called "Saucy" by my friends.  It fits.  I can be a little bit saucy! ;-)

Again I kept my page fairly simple.  I've really been digging pages with a lot of white space lately.  The papers were a mix of scraps from my stash, and then I cut out the blue and gold shape elements from the Good Tidings paper line from Chic Tags.  I did pull in a little bit of red in the flower cluster to compliment the lettering on the mug.  And, I added a doily of course.  I can't believe I thought doilies were so useless.  Clearly, I have been humbled.  I've been putting them on my pages quite a bit lately, and the lace detail and the bright white really do help give pages a little extra "something."  Oh, and I have the chevron twist in there in the patterned paper layered under the photo to the right, and again in the gray brad on the left.

Hope you enjoy my layout and that you come play along with the Memory Nest's color challenge.  Have a fabulous Monday!

xoxo,


Shawna


Saturday, January 25, 2014

Sketchy Solutions...

So I recently discovered a great challenge blog and online scrapbook supply store called  The Memory Nest and I decided to play along with their January sketch challenge.

+


Looks pretty easy right? Nope.  Not for this girl.  It's these simple sketches that stump me. Especially with a vertical 4x6 photo.  I've grown quite used to scrapping smaller, usually square photos, so to scrap a larger photo was more of a challenge than I expected (and I still had to skinny it up so it's more like a 3x6).

I started a layout with the larger squares of paper layered behind my photo.  Agonized over it for a couple of hours, then tossed it and pulled out a light grid covered cardstock and my good old Faber Castell gelatos.(shocker, right?) ;-)  Every time I have struggled with a layout I have ended up coming back to the gelatos and I always feel happy with the outcome.  So here's a bit on my process of putting together a layout using mediums as substitutes for paper elements on a page.  Give it a try!

For this layout, I used the gelatos as a stand-in for the lighter gray paper layer shown in the sketch.

First I put a decent layer of gesso over the background paper.  Once that dried, I scribbled big lines of color with the gelatos, finger blended them, then went over them with water and a watercolor brush.  If you want your gelatos to blend well without hard lines, apply them softly to the paper - you don't have to press down hard at all.  Then wet a watercolor brush and apply a generous amount of water on the lines that separate your rows of color.  Blend the colors out until they look the way you want them.  I stood my paper up and tapped it on my desk to get the colors to run into each other and make some dripping and pooling.


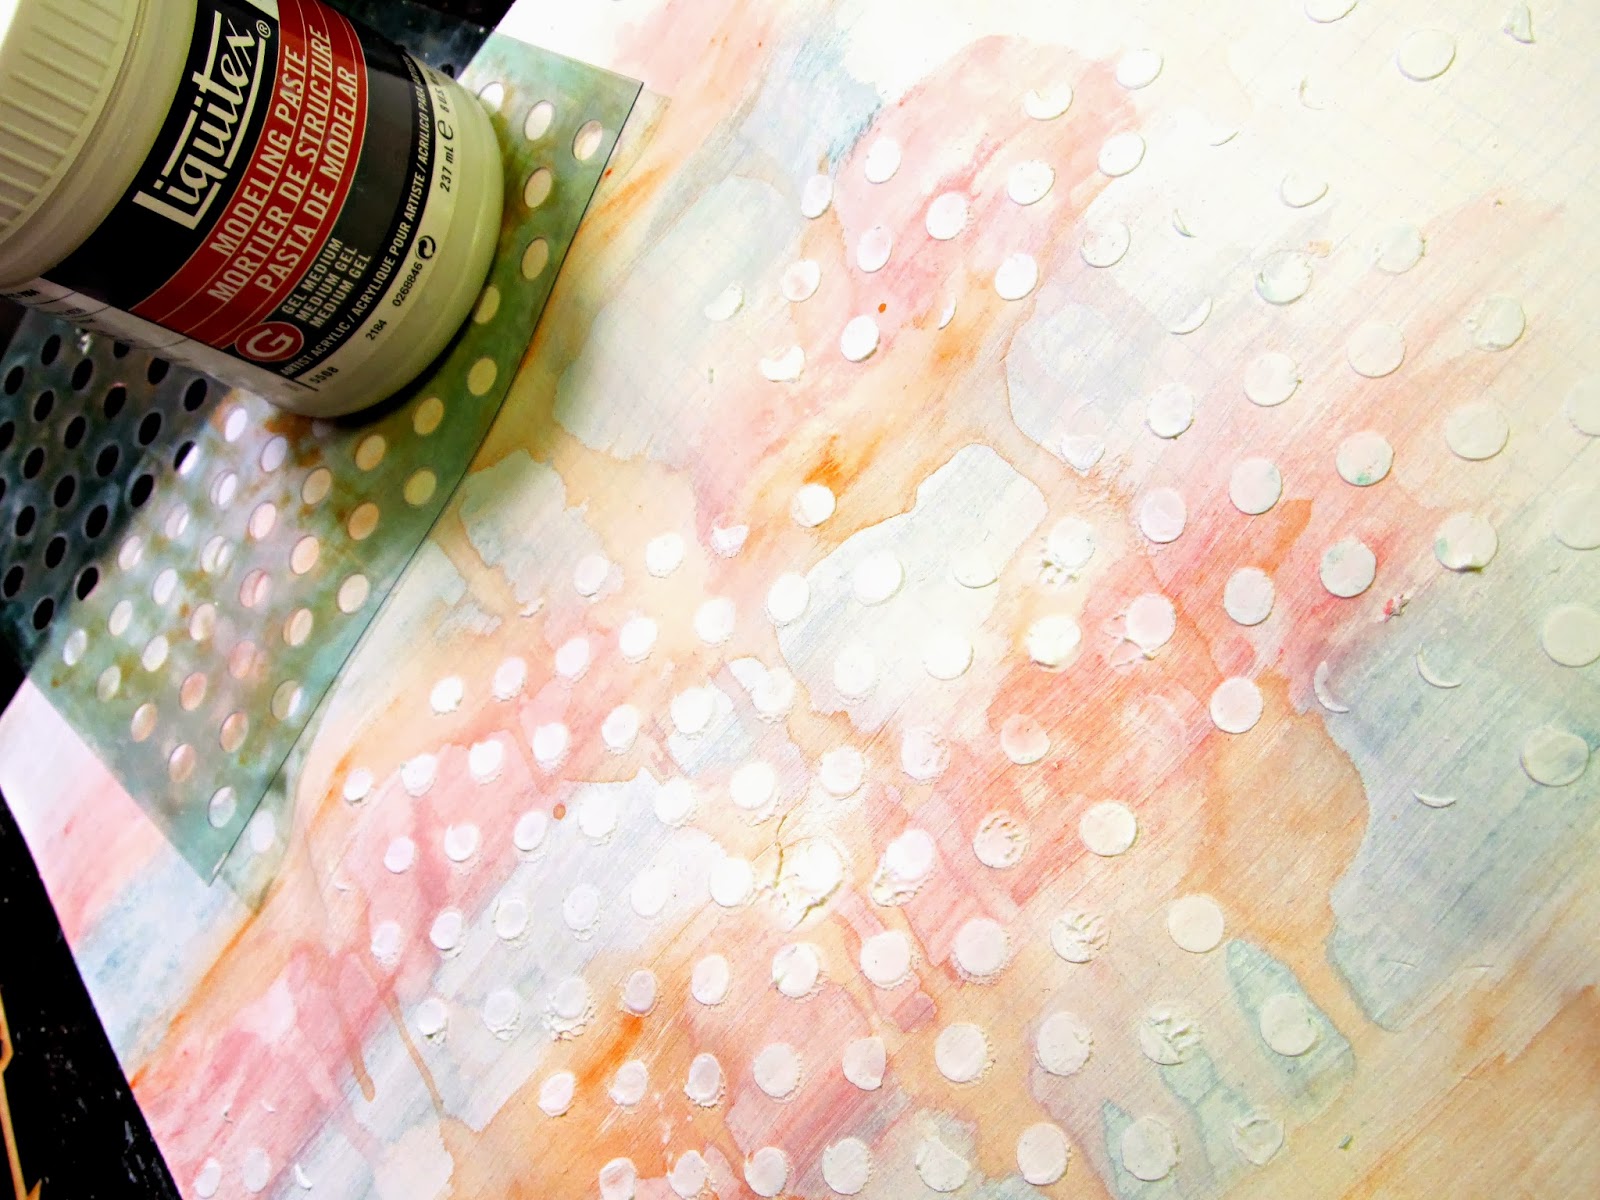
I used a stencil and added some circles with modeling paste over the gelatos, then layered strips of vellum to stand in for the darker gray paper in the sketch.


 A few hearts, a button flair, and a little bit of doodling.  Viola.  A super cute pastel page of the kiddo. :)  I switched the elements but stayed pretty close to the sketch shape.


I hope enjoyed this little how-to...and link me to your layout if you give this technique a try! :)

Have a fabulous weekend!

xoxo,


Shawna